The Best DIY Snowman Tree Topper for the Holiday Season
This snowman tree topper for Christmas is the ultimate holiday decor for your tree top. It’s the game-changer you are looking for this holiday season!
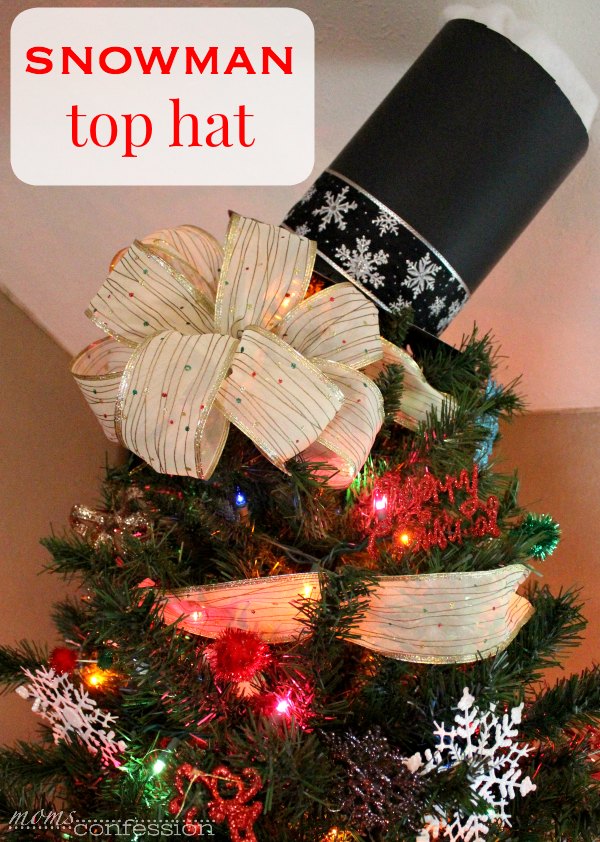
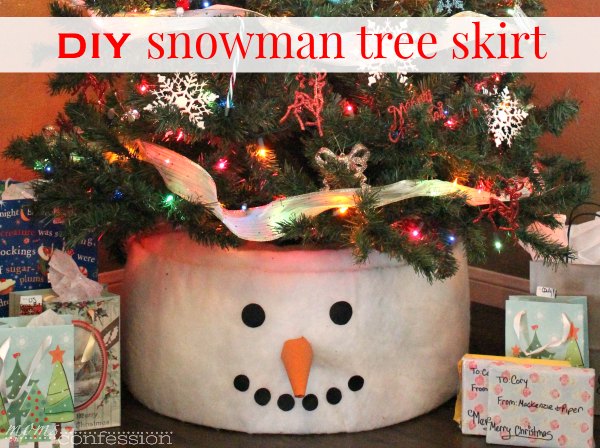
After I finished up the Snowman Tree Skirt and got all the decorations on, I realized my snowman tree was missing something. After thinking about it for a little bit…I realized what it was. My snowman tree needed a top hat! So I made him one and you can too!
Snowman Tree Top Hat
Snowman Top Hat Tree Topper Materials
- 1 sheet of black poster board
- 12-18 inches of the ribbon of your choice
- Quilt Batting or Poly-fil Cotton
Total Time: 20 minutes
How to Make a Snowman Tree Topper
- Cut approximately 12 inches off the shorter side of the poster board.
- Roll it into a cylinder shape and glue down the side to close.
- On one side of the cylinder, cut one-inch slits that are about one inch apart all the way around. Then fold them outwards. This will make it easier to glue onto the brim of your hat. (step 4)
- Next, lay the paper plate holder face down on the remaining poster board and trace around the edge. Cut the circle out. This will be the brim of your top hat.
- After you have the brim cut out, place the saucer plate centered inside the circle and trace it. Cut the circle out and discard trash.
- Add glue all the way around the top of the brim and place the cylinder on the brim.
- Let it sit for about 5 minutes.
- Next, add a dab of glue with your glue gun to the back side of the cylinder where the two pieces meet together and place your ribbon on it. Wrap the ribbon around the base of your top hat and finish off with another dab of glue where you started. Trim the excess ribbon off.
- Now you can place the top hat on your tree by pushing some of the branches through the hat.
- Use a small amount of quilt batting or poly-fil to fill the top hat so it looks like snow is coming out of the top.
- And you’re done! Now you can enjoy your Snowman Tree for the holiday season!
Additional Materials Needed
- Glue Gun
- Glue Sticks for glue gun
- Elmers Glue or Glue Stick
- Scissors
- Pencil
- Paper Plate Holder (or a plate to make your ring for the top hat brim)
- Saucer Plate (to cute center out of the brim of the top hat)
Make this Snowman Tree Skirt for your Christmas tree too and get the printable how to below!

DIY Snowman Tree Topper for the Holiday Season
This snowman tree topper for Christmas is the ultimate holiday decor for your tree top. It's the game-changer you are looking for this holiday season!
Equipment
- Glue Gun
- Glue Sticks for glue gun
- Elmers Glue or Glue Stick
- Scissors
- Pencil
- Paper Plate Holder (or a plate to make your ring for the top hat brim)
- Saucer Plate (to cute center out of the brim of the top hat)
Materials
- 1 sheet of black poster board
- 12-18 inches of the ribbon of your choice
- Quilt Batting or Poly-fil Cotton
Instructions
- Cut approximately 12 inches off the shorter side of the poster board.
- Roll it into a cylinder shape and glue down the side to close.
- On one side of the cylinder, cut one-inch slits that are about one inch apart all the way around. Then fold them outwards. This will make it easier to glue onto the brim of your hat. (step 4)
- Next, lay the paper plate holder face down on the remaining poster board and trace around the edge. Cut the circle out. This will be the brim of your top hat.
- After you have the brim cut out, place the saucer plate centered inside the circle and trace it. Cut the circle out and discard trash.
- Add glue all the way around the top of the brim and place the cylinder on the brim.
- Let it sit for about 5 minutes.
- Next, add a dab of glue with your glue gun to the back side of the cylinder where the two pieces meet together and place your ribbon on it. Wrap the ribbon around the base of your top hat and finish off with another dab of glue where you started. Trim the excess ribbon off.
- Now you can place the top hat on your tree by pushing some of the branches through the hat.
- Use a small amount of quilt batting or poly-fil to fill the top hat so it looks like snow is coming out of the top.
- And you’re done! Now you can enjoy your Snowman Tree for the holiday season!
Be sure to pin this for later!
More Christmas Craft Ideas
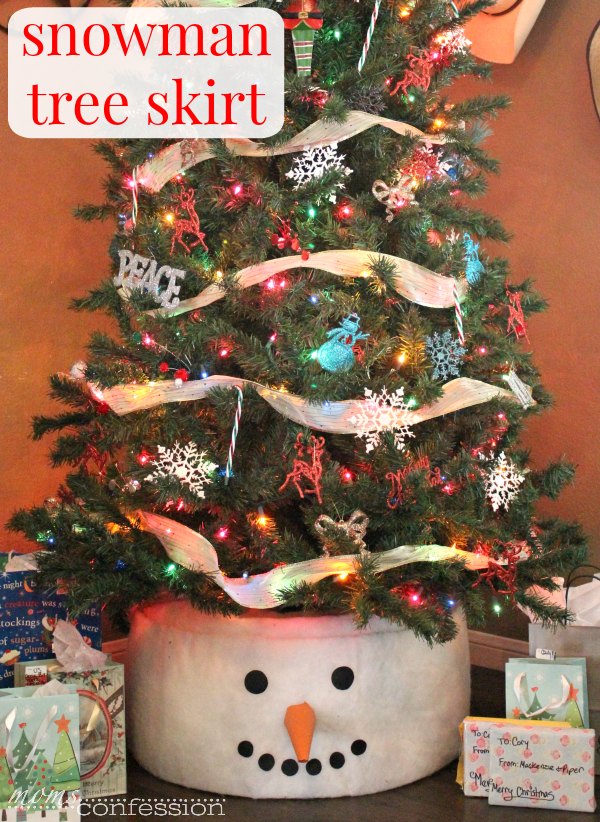
The Cutest DIY Snowman Tree Skirt for Christmas
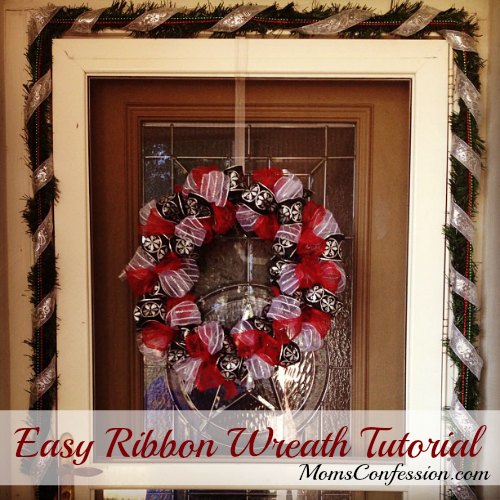
Easy Ribbon Wreath

Reindeer Deco Mesh Christmas Wreath