Mackenzie Childs Inspired Halloween Stacked Pumpkins
These Mackenzie Childs Inspired Halloween Stacked Pumpkins are the perfect centerpiece for a table or even your coffee table. Fun, whimsical with a touch of modern, and everything Halloween!

Last year I moved to the country and didn’t realize that we had a new designer on the block. These Mackenzie Childs inspired stacked pumpkins topiary are everything I love about mixing country with the city.
It’s fun, whimsical with a touch of modern, and everything Halloween! When I was first introduced to Mackenzie Child’s designs, I was in love!
I love how fun you can be with simple black and whites while also adding a pop of color to really make it your own style.

These stacked pumpkins are the perfect centerpiece for a table or even your coffee table. I chose to use it on my coffee table because I wanted a pop of color in the living room.
Halloween themed, these modern stacked pumpkins are sure to be the talk of your Halloween party or get together.

Mackenzie Childs Inspired Halloween Stacked Pumpkins
Items Needed
- 2 medium foam pumpkins
- White chalk paint
- Black sharpie marker
- Small accent pumpkins from floral sticks (I bought mine at Dollar Tree and Walmart.)
- Mix of ribbons in different sizes (max 1 1/2 inch)
- Tube Deco Mesh Ribbon
- Halloween themed/colored floral sticks (I got mine at Dollar Tree.)
- Fake fabric leaves
- Glue gun
- Foam Paintbrush
Mackenzie Childs Inspired Halloween Stacked Pumpkins Instructions
- First, remove the stem from the foam pumpkin (if there is one).
- Next, paint the entire pumpkin with white chalk paint. You will need two coats, but be sure to allow the first coat to dry before you apply the second coat. If you don’t wait for it to dry completely, you will have clumping and the coverage will not be good. If you don’t have full coverage after the second coat, apply a third.
- After the pumpkins have dried, use the Sharpie marker to follow the lines of the pumpkin vertically down in each of the dimples of the pumpkin. You may need to add extra lines in the larger spaces so that you can have an equal amount of squares for the first pumpkin.
- For the first one, after you have created the vertical lines, start in the middle and create a horizontal line connecting it all the way around.
- Next, you will add a second line about an inch below and an inch above and then one more at the very top and at the very bottom to create your square pattern on the pumpkin.
- After you have the squares, then you will color the squares with the Sharpie marker alternating black and white squares around the entire pumpkin.
- For the second pumpkin, you’re going to do the same thing with the vertical lines as the first. This one is just going to be stripped so you need to make sure you have enough stripes to create an equal balance of black and white stripes vertically on the pumpkin.
- After you have painted the stripes and the buffalo check on each of the pumpkins, you will add a layer of fake leaves to the top of the striped pumpkin.
- Next, trim off some of the Halloween-themed floral sticks and create a pattern around on top of the leaves using hot glue to stick them in place. I alternated orange, purple, and black glitter-covered sticks.
- Now it’s time to stack the pumpkins! Add hot glue to the bottom of the buffalo check pumpkin and stick it on top of the striped print pumpkin.
- Next up…it’s bow time! Start by looping the ribbon over each other until you have 3 loops on both sides. I made mine approximately 4-5 inches to create three loops, this will start to form your bow.
- I chose to use three ribbons in different colors along with 2 colors of the tube Deco mesh ribbon as well.
- Stack the ribbons on top of each other with the widest on the bottom and skinniest on the top.
- Using a pipe cleaner, wrap the ribbons tightly and form your bow by expanding the loops and making it look pretty.
- Trim off any excess pipe cleaner from the back.
- Place a large amount of hot glue on the back of the ribbon and glue it at an angle to the top of the buffalo check pumpkin.
- Add a few of the small decorative pumpkins to the top and in the center of the bow to finish the project!
Use it as a centerpiece on your table or as added decoration throughout your home!
Get the printable instructions below.
Here are some photos we took of these cute stacked pumpkins!


Be sure to pin this for later!


Mackenzie Childs Inspired Halloween Stacked Pumpkins
Materials
- 2 medium foam pumpkins
- White chalk paint
- Black sharpie marker
- Small accent pumpkins from floral sticks I bought mine at Dollar Tree and Walmart.
- Mix of ribbons in different sizes max 1 1/2 inch
- Tube Deco Mesh Ribbon
- Halloween themed/colored floral sticks I got mine at Dollar Tree.
- Fake fabric leaves
- Glue gun
- Foam Paintbrush
Instructions
- First, remove the stem from the foam pumpkin (if there is one).
- Next, paint the entire pumpkin with the white chalk paint. You will need two coats, but be sure to allow the first coat to dry before you apply the second coat. If you don’t wait for it to dry completely, you will have clumping and the coverage will not be good. If you don’t have full coverage after the second coat, apply a third.
- After the pumpkins have dried, use the sharpie marker to follow the lines of the pumpkin vertically down in each of the dimples of the pumpkin. You may need to add extra lines in the larger spaces so that you can have an equal amount of squares for the first pumpkin.
- For the first one, after you have created the vertical lines, start in the middle and create a horizontal line connecting it all the way around.
- Next, you will add a second line about an inch below and an inch above and then one more at the very top and at the very bottom to create your square pattern on the pumpkin.
- After you have the squares, then you will color the squares in with the sharpie marker alternating black and white squares around the entire pumpkin.
- For the second pumpkin, you’re going to do the same thing with the vertical lines as the first. This one is just going to be stripped so you need to make sure you have enough stripes to create an equal balance of black and white stripes vertically on the pumpkin.
- After you have painted the stripes and the buffalo check on each of the pumpkins, you will add a layer of the fake leaves to the top of the striped pumpkin.
- Next, trim off some of the Halloween themed floral sticks and create a pattern around on top of the leaves using hot glue to stick them in place. I alternated orange, purple, and black glitter covered sticks.
- Now it’s time to stack the pumpkins! Add hot glue to the bottom of the buffalo check pumpkin and stick it on top of the striped print pumpkin.
- Next up…it’s bow time! Start by looping the ribbon over each other until you have 3 loops on both sides. I made mine approximately 4-5 inches to create three loops, this will start to form your bow.
- I chose to use three ribbons in different colors along with 2 colors of the tube Deco mesh ribbon as well.
- Stack the ribbons on top of each other with the widest on the bottom and skinniest on the top.
- Using a pipe cleaner, wrap the ribbons tightly and form your bow by expanding the loops and making it look pretty.
- Trim off any excess pipe cleaner from the back.
- Place a large amount of hot glue to the back of the ribbon and glue it at an angle to the top of the buffalo check pumpkin.
- Add a few of the small decorative pumpkins to the top and in the center of the bow to finish the project!
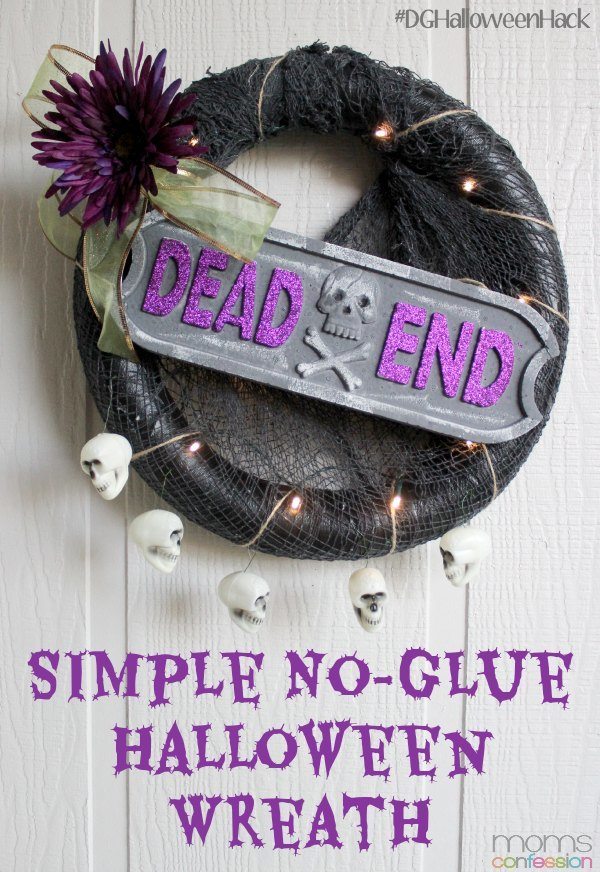
Love this idea? Try this Simple No Glue Halloween Wreath Too!
