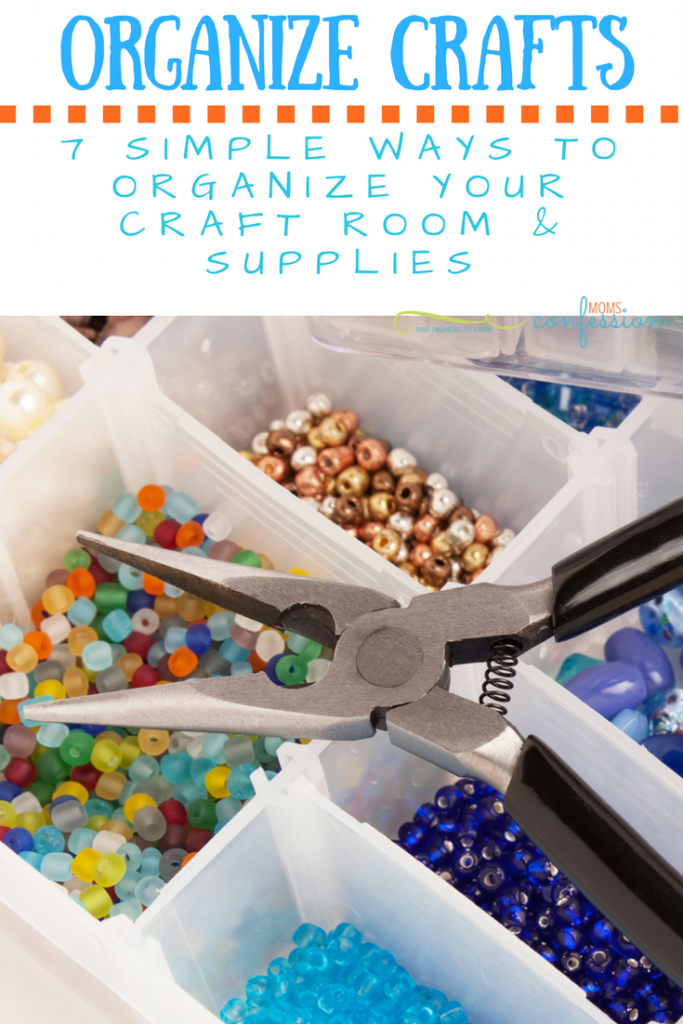
7 Ways to Organize Your Craft Supplies
Organize Your Craft Supplies with these 7 Ways that we love! From classic methods to truly genius ideas using household items, you’ll be in order fast!
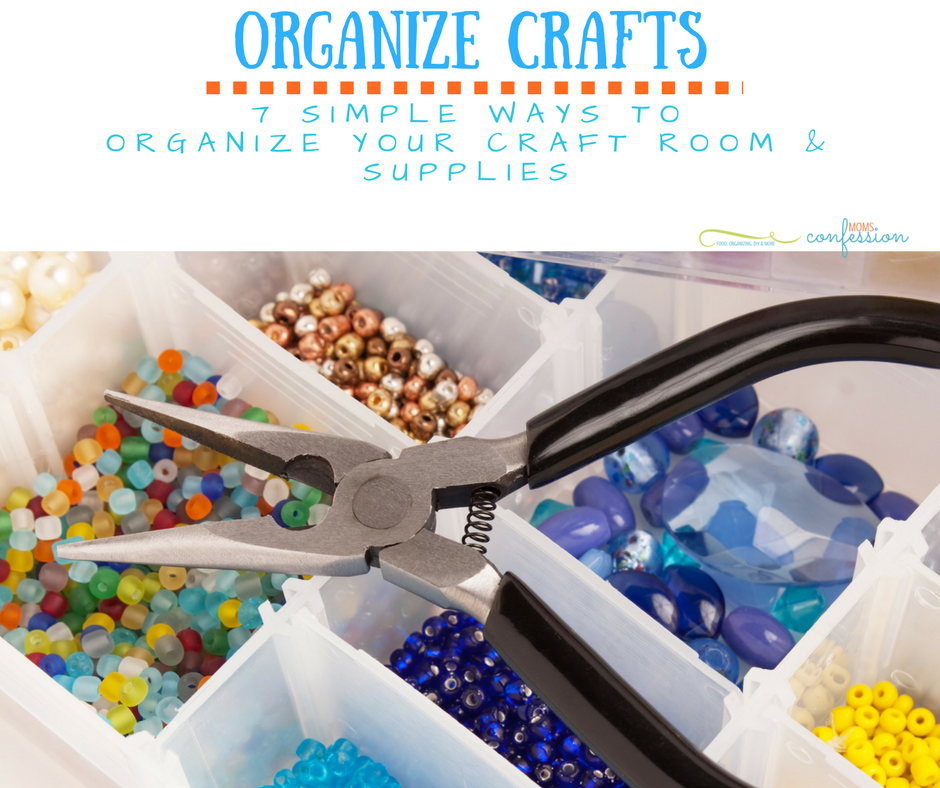
Have you found yourself drowning in craft supplies? If so, you might be wondering how to get them better organized and accessible. Well, the good news is, there are plenty of ways to get your crafts organized and make the most of your space.
Take a look below at 7 ways to organize your craft supplies, so you can enjoy a craft space that is clear, open, and invites in plenty of creativity! Because who wouldn’t want that? Here is what you need to know.
7 Ways To Organize Your Craft Supplies
Mason jars are magic.
Mason jars are great for holding paint brushes, pencils, markers, stamps, even spools of thread. Use clear mason jars to keep these items high and dry. You can label the fronts for easy identification, or tie tags around the mouth of the jar.
Grab a wine rack.
While you might want to sip wine while you craft, the wine rack is actually for your supplies. Roll up fabric into tight rolls and slide them into the bottle holders. A wire wine rack is perfect for getting your fabric organized and keeping it wrinkle-free.
What a genius way to organize your craft supplies!
Do a weekly inventory.
Take a few minutes each week to go through your supplies and toss empty jars and bottles. Toss any dried-out or broken products, and pitch any trash. Just keeping items that can’t be used out of the space is a great way to keep the space clean and clear.
Use paper sorters.
Plastic paper sorters like you find in most offices are great for keeping scrapbook paper, stickers, and even fabric organized. You can also stack felt or use it to hold smaller supplies that typically move and roll around and make a mess.
I like the smaller tabletop paper sorter style for items I use regularly.
Hang a clothesline.
Hang a clothesline in the space and keep plenty of clothespins on it. That way you can hang fabric scraps, color samples, prints, scrapbook paper, and even ideas you pull out of magazines.
This is an easy way to keep supplies displayed for easy access. It is decorative to the space as well as functional. I am in love with this Bungee Cord Travel Clothesline for this purpose!
Head to the thrift store.
Head to your local thrift store for baskets, bins, rolling containers, and even storage ottomans. These types of items are perfect for keeping those crafting items organized.
A collection of these items displayed on a simple shelf is the perfect way to keep items organized and separated. While there, look for items like shelving, wall hooks, and even hangers that can be used to display items and keep them better organized.
Hang a cork board.
Cork boards are wonderful for pinning fabric to, hanging color swatches on, or even adding small hooks to so you can hang objects. You can also keep small items in baggies and pin the baggies to the corkboard.
Cork boards are cheap to buy and come in a variety of sizes, making them simple to utilize in your space. I love the simple Cork Board Tiles since I can make it as big or small as I want, and move them around if needed.
Are you ready to enjoy a more organized craft space? Give these 7 ways to organize your craft supplies your consideration and see what a difference they can make.
More Organization Tips:
- How to Organize Your Life for Less Stress
- How To Organize Your Freezer
- Organize Your Linen Closet With 3 Easy Steps
- Organization Tips For Kids Toy Rooms