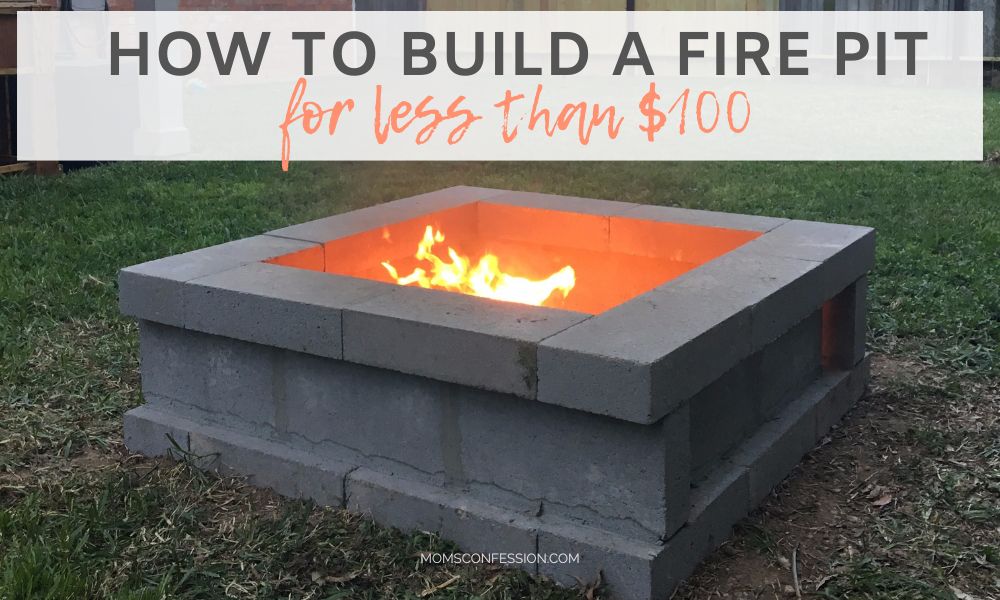
How to Build a Fire Pit for Less Than $100
If you’re looking for a cheap way to make your yard better this year, follow these steps on how to build a fire pit for under $100. You’ll love hanging out around the fire each evening.
One of my favorite things to do is sit around in the evenings and catch up on what’s happening in their lives. During the summer months, our favorite spot to do this is outside. There’s something so relaxing about sitting outside in the dark, listening to the peaceful sounds of the night.
Because we love doing this so much, I knew that my next project would be a DIY project that would make these evenings even better. That’s why I decided to build a fire pit.
I really wanted to add a fire pit to our yard so that we can light a fire during our family chats. When I looked in the store, I couldn’t believe how expensive they were! I also didn’t like the selection since they didn’t fit in with my landscaping. That’s when I decided to make my own fire pit. Once I came up with the plan, it was easy enough to get the supplies and start on the project.
This firepit DIY is perfect if you are looking for an easy weekend project that you can enjoy all year!
How to Build a Fire Pit for Less Than $100
Supplies
- 32 fire-resistant concrete blocks (8x4x16)
- Ready Mix Mortar Mix (premixed and ready to use)
- Flathead shovel
- Rack
- Lava Rocks (optional)
- 4 additional fire-resistant concrete blocks (optional, but gives added structure)
How to Build a Fire Pit for $45
- First, location, location, location! Start by picking a safe and level spot in your yard. Make sure it’s away from trees, overhanging branches, fences, or anything else that could catch fire. Also, double-check that it’s not near kids’ play areas or high-traffic spaces.
- Measure out space to ensure it fits the size of your fire pit. Mark the edges with a stick and string line so you have a visual guide for where your blocks will go.
- Remove any grass or debris from the area. You will need to clear a space that is roughly 50 inches by 42 inches. This should give you enough space to lay your fire resistant blocks.
- Using the flathead shovel, remove any grass, rocks, or debris from the spot.
- Lay your first layer of concrete blocks directly on level ground, forming a rectangle. Place 3 blocks flat along two sides and 2 blocks on each of the shorter sides. Make sure the blocks fit tightly together and sit evenly. Adjust the ground underneath as needed to keep everything level.
- On the shorter sides where you placed 2 blocks, stand 3 concrete blocks upright on their sides. On the longer sides with 3 blocks, stand 2 blocks upright, leaving a gap on each end to allow air to flow through.
- Next, add a second layer of flat concrete blocks using the same pattern as the first. Place 3 blocks along the longer sides and 2 along the shorter sides, making sure they align neatly with the layer below. Keep everything tight and level as you go.
- Now that everything is placed the way you want it, apply a layer of mortar mix to the bottom sides of each concrete block that will be standing upright. Carefully set each upright block onto the bottom layer, pressing it firmly into place so it sticks. Make sure each one is aligned properly and stands level—adjust as needed before the mortar begins to set.
- Next, apply another layer of mortar mix to the tops of the upright concrete blocks. Then, carefully place your final layer of flat blocks on top, following the same rectangular layout as before. Press each block firmly into the mortar to secure it in place, making sure everything stays level and aligned as you complete the top layer.
- Let the mortar set according to the package instructions before using the fire pit.
- Grab a few chairs, your firewood, and you’re ready for your first backyard fire!
Notes: If you’re using the extra 4 fire-resistant concrete blocks, place one in the center of each interior side of the fire pit. Use mortar mix to secure them in place.
If you plan to add lava rocks, wait until the mortar has fully dried. You can still burn firewood on top of the lava rocks, but keep in mind that some of the rocks may get scooped out during cleanup.
Be sure to pin this for later and get the printed instructions below.
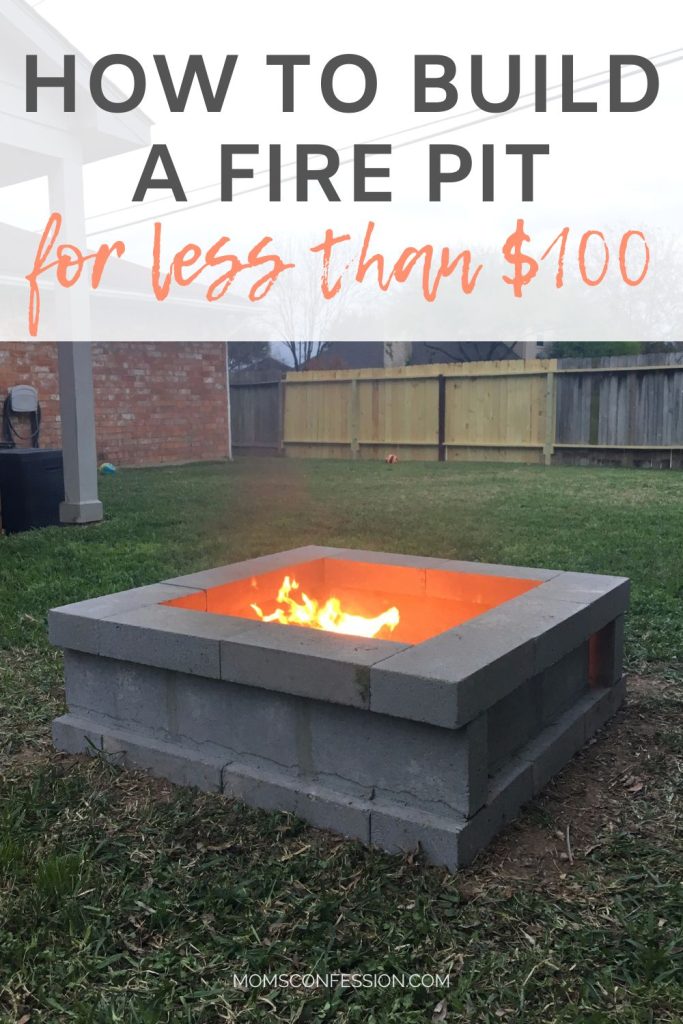
If you’re ready for some relaxing evenings outside, you need to know how to build a fire pit for under $100. Building your own fire pit is easy. You simply need the supplies and a little elbow grease. The best part is that this DIY project won’t break the bank!
More Outdoor DIY Projects
- 5 Lawn Care Tips For Lush Green Grass In Southern States
- How to Start an Indoor Herb Garden
- Frugal Gardening Tips & Tricks for Beginners and Experts
- Herb Garden Planter in 30 Minutes or Less
How to Build a Fire Pit for Less Than $100
Equipment
- 32 fire-resistant concrete blocks (8x4x16)
- Ready Mix Mortar Mix (premixed and ready to use)
- Flathead shovel
- Rack
- Lava Rocks (optional)
- 4 additional fire-resistant concrete blocks (optional, but gives added structure)
Instructions
- First, location, location, location! Start by picking a safe and level spot in your yard. Make sure it’s away from trees, overhanging branches, fences, or anything else that could catch fire. Also, double-check that it’s not near kids’ play areas or high-traffic spaces.
- Measure out space to ensure it fits the size of your fire pit. Mark the edges with a stick and string line so you have a visual guide for where your blocks will go.
- Remove any grass or debris from the area. You will need to clear a space that is roughly 50 inches by 42 inches. This should give you enough space to lay your fire resistant blocks.
- Using the flathead shovel, remove any grass, rocks, or debris from the spot.
- Lay your first layer of concrete blocks directly on level ground, forming a rectangle. Place 3 blocks flat along two sides and 2 blocks on each of the shorter sides. Make sure the blocks fit tightly together and sit evenly. Adjust the ground underneath as needed to keep everything level.
- On the shorter sides where you placed 2 blocks, stand 3 concrete blocks upright on their sides. On the longer sides with 3 blocks, stand 2 blocks upright, leaving a gap on each end to allow air to flow through.
- Next, add a second layer of flat concrete blocks using the same pattern as the first. Place 3 blocks along the longer sides and 2 along the shorter sides, making sure they align neatly with the layer below. Keep everything tight and level as you go.
- Now that everything is placed the way you want it, apply a layer of mortar mix to the bottom sides of each concrete block that will be standing upright. Carefully set each upright block onto the bottom layer, pressing it firmly into place so it sticks. Make sure each one is aligned properly and stands level—adjust as needed before the mortar begins to set.
- Next, apply another layer of mortar mix to the tops of the upright concrete blocks. Then, carefully place your final layer of flat blocks on top, following the same rectangular layout as before. Press each block firmly into the mortar to secure it in place, making sure everything stays level and aligned as you complete the top layer.
- Let the mortar set according to the package instructions before using the fire pit.
- Grab a few chairs, your firewood, and you’re ready for your first backyard fire!